3D Printing at U-SoA

GET STARTED
1
Request Info
2
Visit
3
Apply
3dprinting

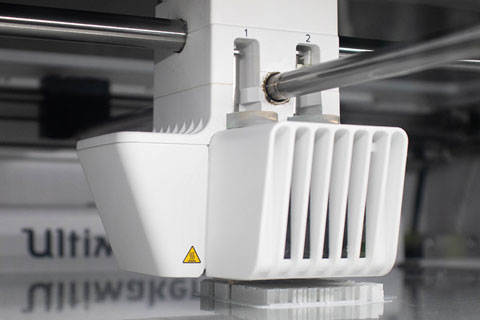
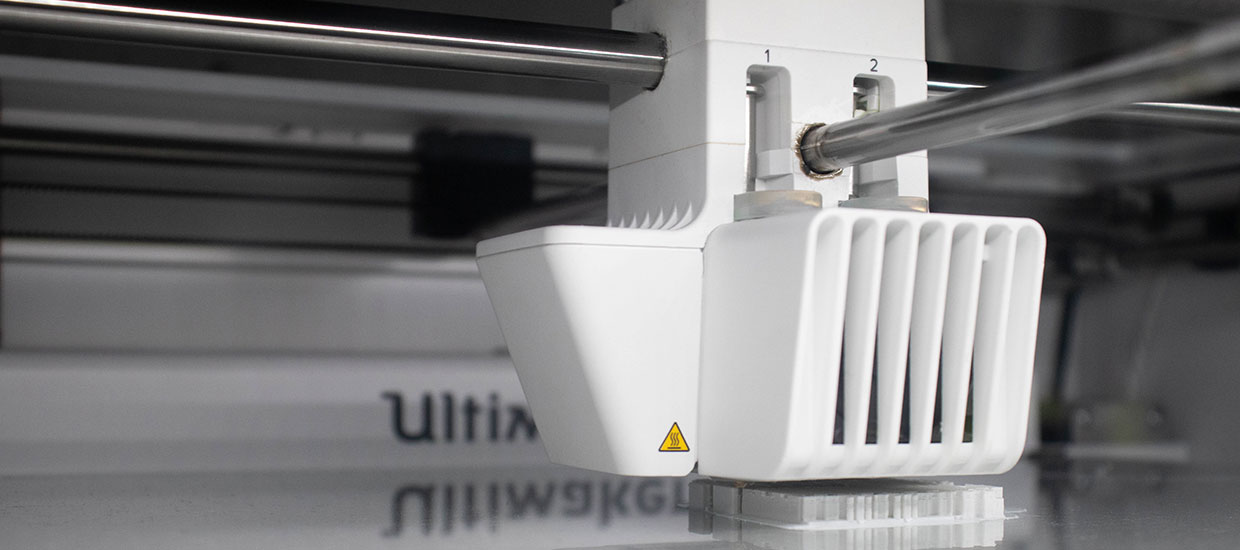
There are four new Ultimaker F.D.M. 3D printers. Two are Ultimaker 3 Extended and two are Ultimaker S5, the largest FDM printer-to-date by Ultimaker. All have dual extruders and will have white PLA as printing material and PVA as support material.

In addition to the Ultimaker printers in the Fabrication Lab, students have access to six Sindoh 3DWox Printers available 24/7 located in Murphy Design Studio. Filamet for the Sindoh printers can be purchased on Amazon.com by searching for “Sindoh 3D Wox Refill PLA Filament”. Additionally, some filament may be available for purchase through the Fabrication Lab.

For More Information Download:

UM_SoA_3D Ultimaker Printing Guide

How To Prepare A Model For Printing:

Models are created in 3D programs such as Rhino and must be saved in STL format. Use the following steps to prepare your model in Rhino and Cura.

  • Make sure your model unit scale is in millimeters.
  •  When working with surfaces, use BooleanUnion to combine the objects into one polysurface. Click Solid > Union. If the union doesn’t work, you will likely have errors and other problems later. Rework the model so that the union is successful before going on to the next step.
  •  After the Union command has been applied, create a Polygon Mesh. Highlight the object, select Mesh > From NURBS Object. With highly curved surfaces, increase the number of triangles in the mesh. Straight surfaces need less.
  •  Next, click the object to select the Polygon Mesh. With the mesh selected, drag it off the surfaces. Don’t forget to do this otherwise you may export the surfaces as well.
  •  Issue the command CheckMesh to see if you have a good mesh. If you have a bad mesh, search Rhino help for ‘check/repair meshes’. This will give you many fix-it commands. A common problem is naked or unjoined edges, which are revealed with the command ShowEdges, and usually fixed with MatchMeshEdge. FillMeshHoles will repair holes, but is more likely to change the shape of the model. ExtractDuplicateMeshFaces will separate identical faces for easier removal, but be aware it could generate naked edges. It may be helpful to make a copy of the mesh before using these tools in order to check the results.
  •  When done fixing the model, export the Polygon Mesh as an STL file (export only the mesh and not the surfaces as well otherwise it will be harder to edit if any errors occur). Select the mesh, then click File > Export Selected. Change the Save As Type to STL. When the File Type Options appears, choose BINARY. Export each model to a separate STL—don’t combine them in one STL.
    • We recommend that you export your models into Rhino before exporting the final STL file.
    • If you need assistance, don’t hesitate to stop by the Fabrication Lab during operational hours or click here for Rhino Tutorials.

After you have exported your Rhino File, you will now need to open Cura and import the model. Please select the type of filament you would like to use on your print (we offer free tough white PLA Filament, with optional PVA as a support material). Cura Software is available for free download with the link below: 

Cura Software

Cura Tutorial

Once you have created your cura file, please schedule an appointment to have the print reviewed and added to the queue in the Fabrication Lab. Please note you must be physically present for the
appointment.

3D Printing - Setup Appointment