Time to print is approximately 2 hours per inch in height, but when finished, models require a couple of hours to dry. We ask that you submit your model 48 hours ahead of the required due date and stop by the Fabrication Lab to check that your file has been properly submitted and is capable of being printed by the technician. During the last three weeks of each semester, before and during Final Reviews, please allow 72 hours lead time instead of 48.
For More Information Download
UM_SoA_3D Resin Printing Guide
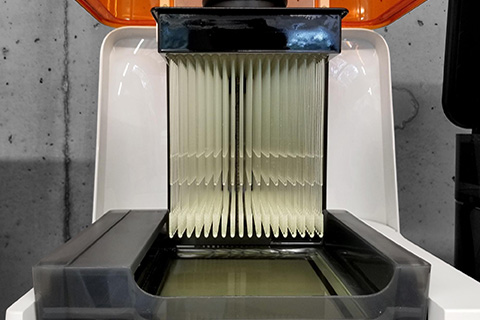
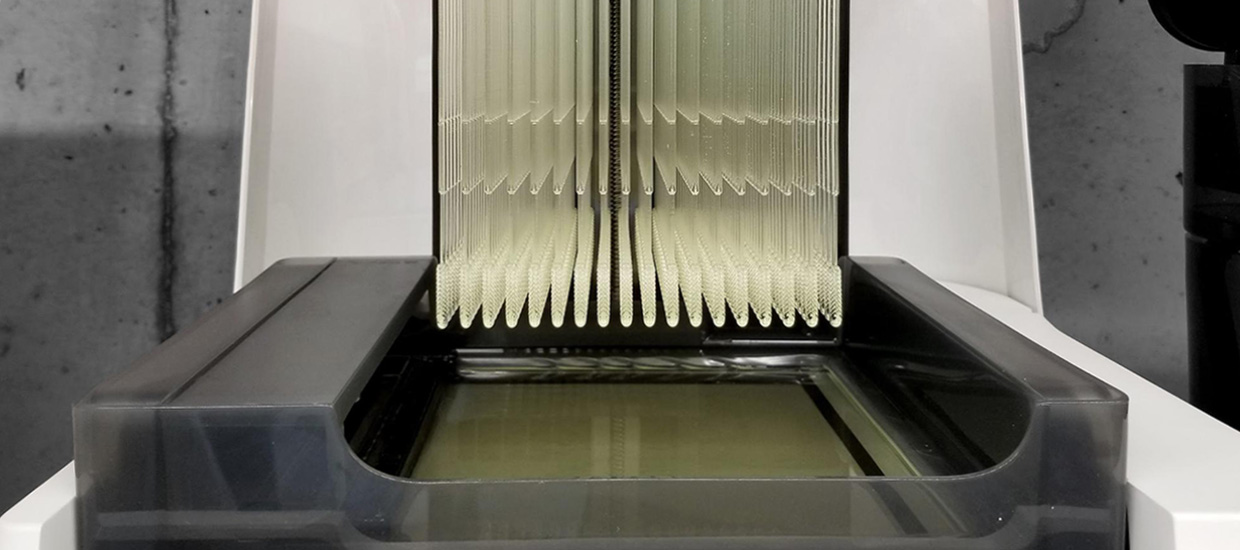
3D Resin Printer
Please sign-up for an appointment to verify your model and submit payment prior to printing.
Appointments
Please also fill out the form below and submit your file so it can be reviewed prior to your appointment. Your order will be processed upon receipt of payment.
How To Prepare A Model For Printing
Models are created in 3D programs such as Rhino and must be saved in STL format. Use the following steps to prepare your model in Rhino.
- Make sure your model unit scale is in millimeters.
- When working with surfaces, use BooleanUnion to combine the objects into one polysurface. Click Solid > Union. If the union doesn’t work, you will likely have errors and other problems later. Rework the model so that the union is successful before going on to the next step.
- After the Union command has been applied, create a Polygon Mesh. Highlight the object, select Mesh > From NURBS Object. With highly curved surfaces, increase the number of triangles in the mesh. Straight surfaces need less.
- Next, click the object to select the Polygon Mesh. With the mesh selected, drag it off the surfaces. Don’t forget to do this otherwise you may export the surfaces as well.
- Issue the command CheckMesh to see if you have a good mesh. If you have a bad mesh, search Rhino help for ‘check/repair meshes’. This will give you many fix-it commands. A common problem is naked or unjoined edges, which are revealed with the command ShowEdges, and usually fixed with MatchMeshEdge. FillMeshHoles will repair holes, but is more likely to change the shape of the model. ExtractDuplicateMeshFaces will separate identical faces for easier removal, but be aware it could generate naked edges. It may be helpful to make a copy of the mesh before using these tools in order to check the results.
- When done fixing the model, export the Polygon Mesh as an STL file (export only the mesh and not the surfaces as well otherwise it will be harder to edit if any errors occur). Select the mesh, then click File > Export Selected. Change the Save As Type to STL. When the File Type Options appears, choose BINARY. Export each model to a separate STL—don’t combine them in one STL.
- We recommend that you export your models into Rhino before exporting the final STL file.
- If you need assistance, don’t hesitate to stop by the Fabrication Lab during operational hours or click here for Rhino Tutorials.